Your First Scavenger Hunt
Ready to launch your first experience? This guide will take you from zero to a fully working scavenger hunt in under 10 minutes.
We'll build a simple "Office Explorer" hunt as an example, but you can adapt this for a museum, park, or classroom.
Scenario: The Office Explorer
Goal: Players need to find 3 key locations in the office to get a "Digital Coffee Voucher." Locations:
- The Front Desk
- The Coffee Machine
- The Meeting Room
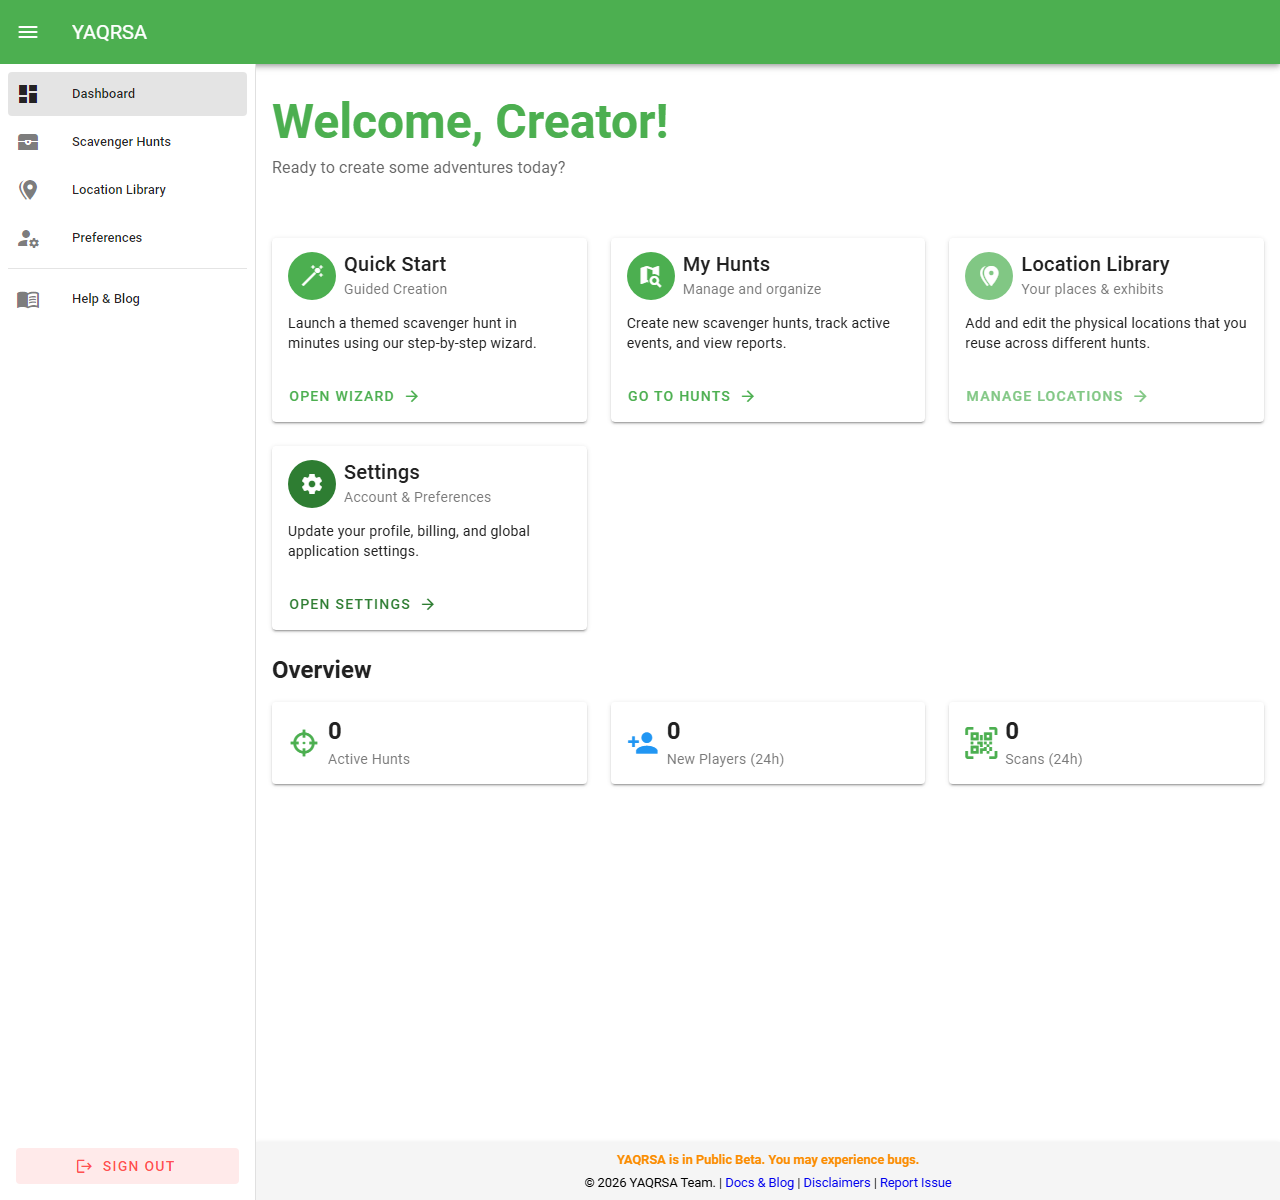
Step 1: Register & Dashboard
- Register for a free account (or log in if you already have one).
- You will land on your Dashboard, which shows your "Recent Activity" (scans and joins) and quick links to your tools.
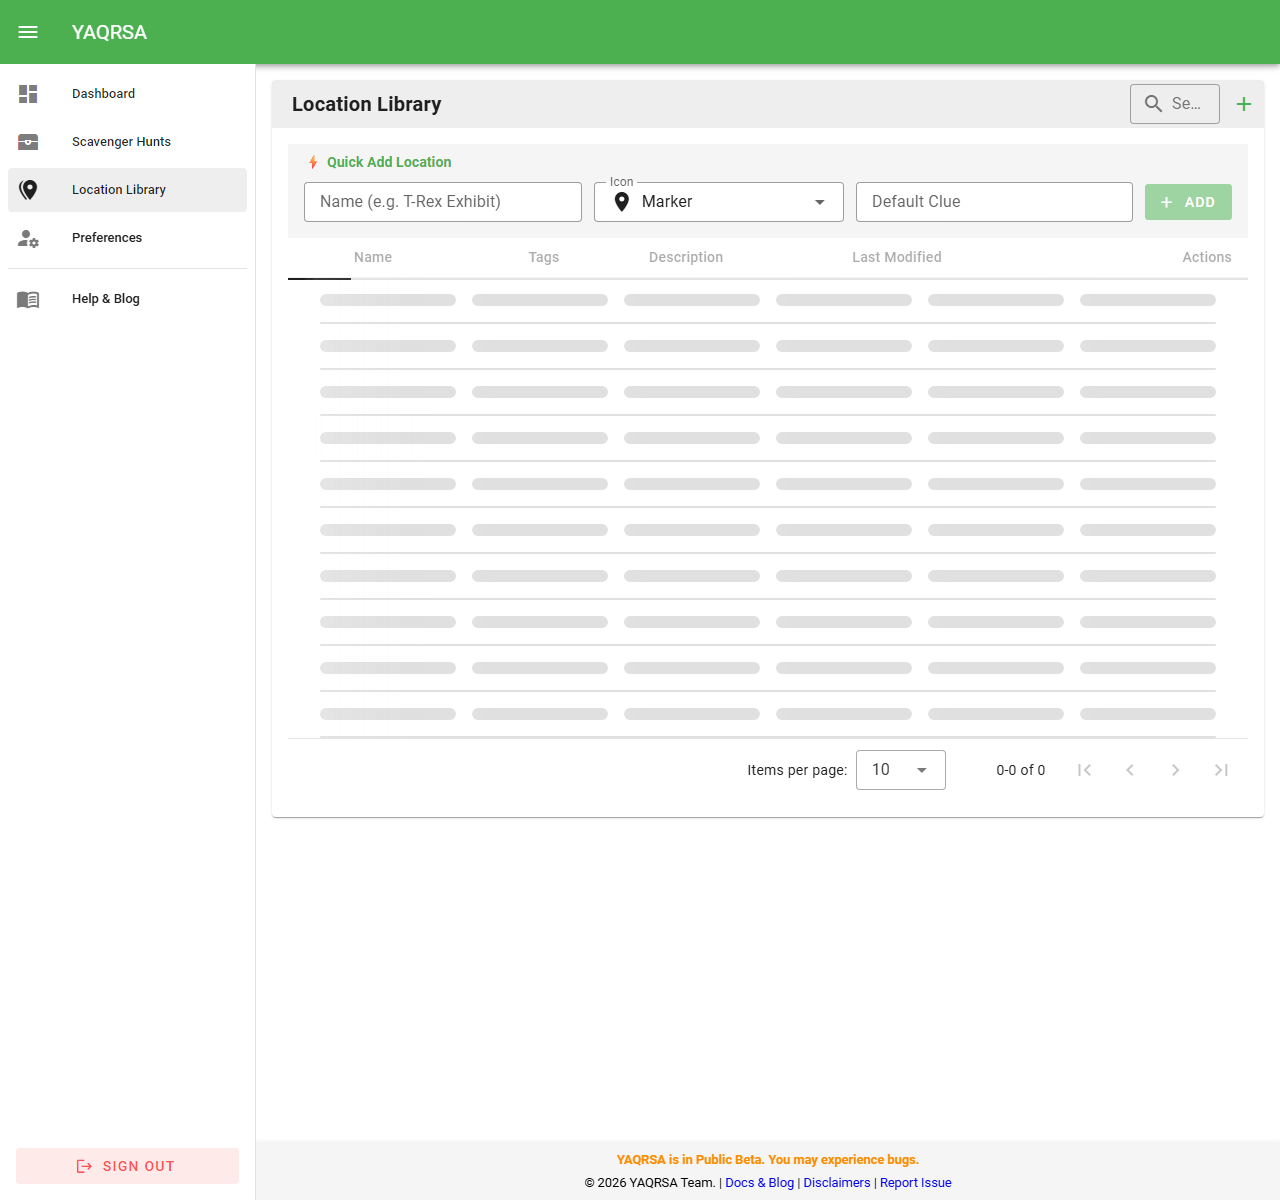
Step 2: Create Your Locations
First, we need to define the physical places in your Location Library. This allows you to reuse them later (e.g., for a "New Hire Onboarding" hunt).
- Click on Location Library in the dashboard cards or sidebar.
- Click + New Location.
- Create Location 1 (Front Desk):
- Name: Front Desk
- Default Clue: "Where guests say hello."
- Participant Details: "Did you know? Our receptionist has been here for 10 years!" (Optional fun fact).
- Click Save.
- Create Location 2 (Coffee Machine):
- Name: The Fuel Station
- Default Clue: "Bean there, done that."
- Click Save.
- Create Location 3 (Meeting Room):
- Name: Conference Room A
- Default Clue: "Where ideas happen (sometimes)."
- Click Save.
TIP
You don't need to print anything yet! We'll generate the QR codes after setting up the hunt.
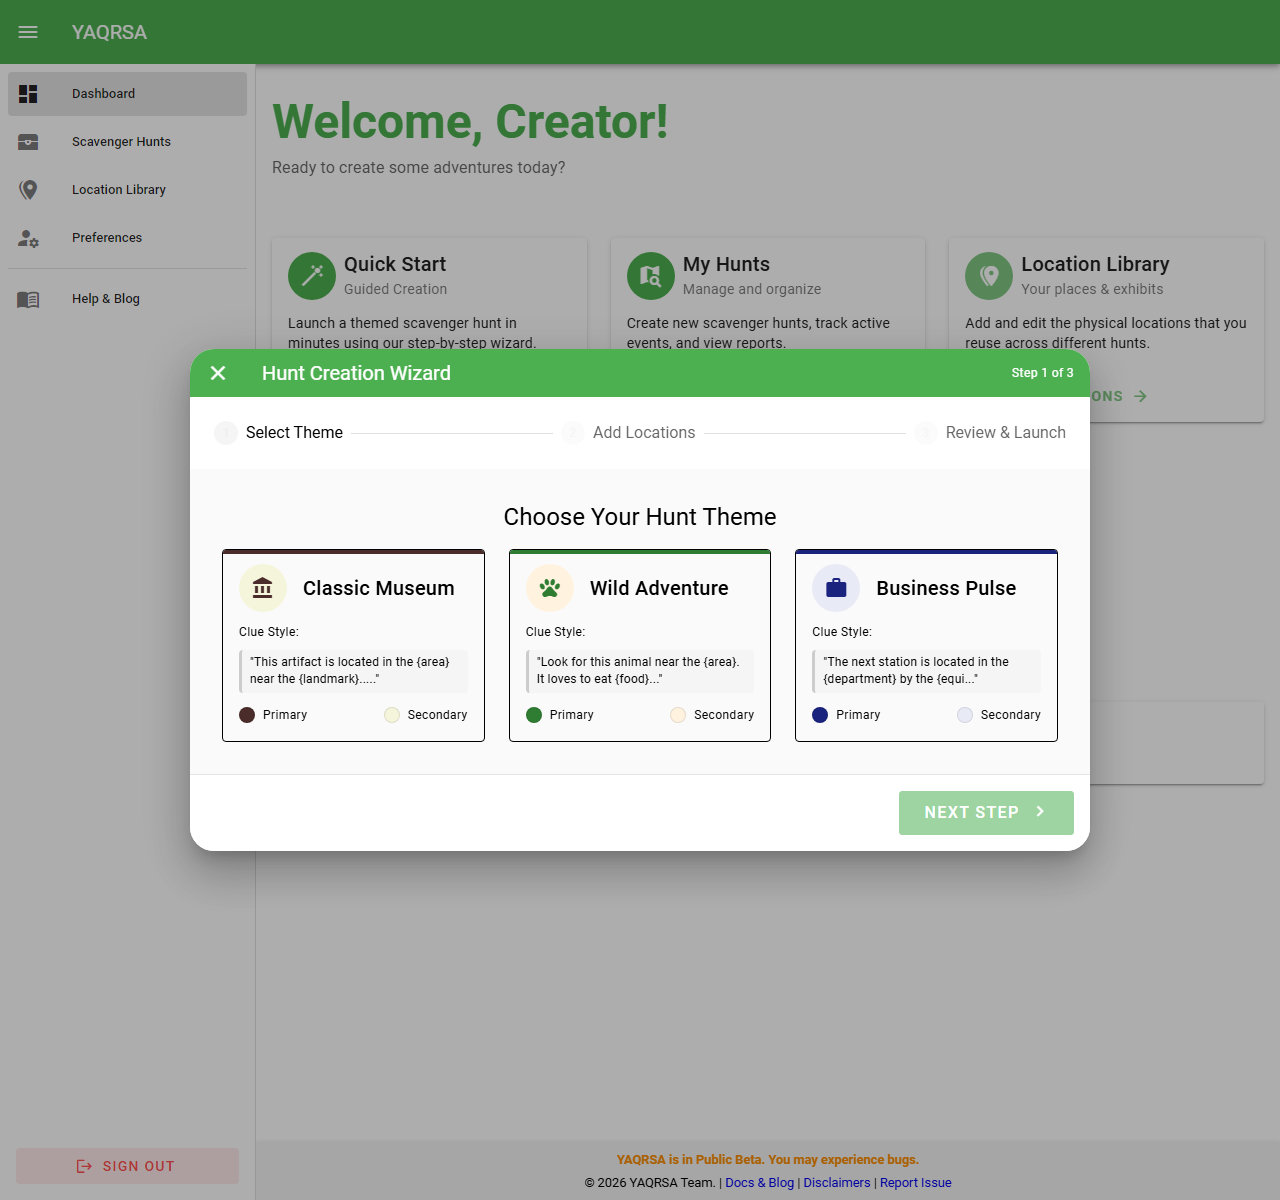
Step 3: Build the Hunt
Now we group these locations into an event.
- Navigate to My Hunts.
- Click + New Hunt.
- Basic Details:
- Name: Office Explorer
- Description: A quick tour for visitors.
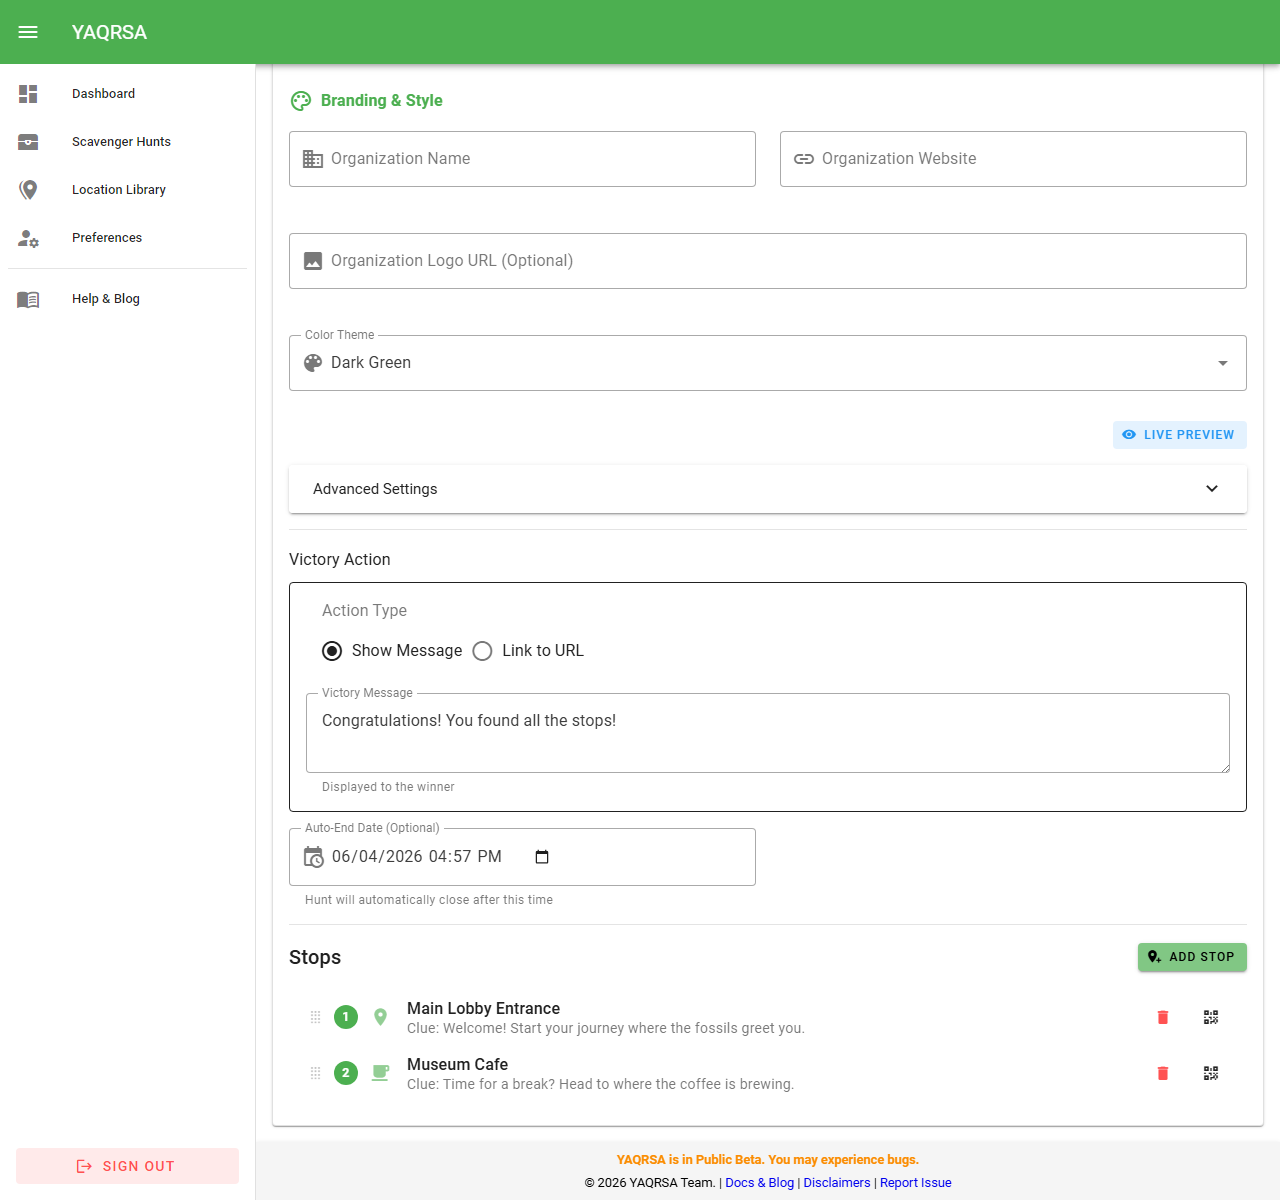
- Settings:
- Completion Mode: Select Find All Stops.
- Victory Action: Select Show Message.
- Victory Message: "Congrats! Go ask the office manager for your free coffee voucher."
- Click Save & Continue.
Step 4: Add the Stops
- In your new hunt, look for the Stops section.
- Click + Add Stop.
- Select: "Front Desk".
- Points: 10
- Clue: Leave blank (it will use the default "Where guests say hello").
- Click Add.
- Repeat for "The Fuel Station" and "Conference Room A".
Step 5: Test It (Dry Run)
Before printing stickers, let's test it on your phone.
- In the Hunt Dashboard, find the Front Desk stop in the list.
- Click the QR Code Icon next to it.
- Scan it with your phone's camera.
- What should happen:
- You'll see a landing page: "Found: Front Desk".
- It might ask you to choose a nickname (e.g., "Explorer1").
- Once confirmed, you'll see a clear "Found It!" screen with your "Did You Know?" fact.

Step 6: Go Live
- At the top of the Hunt Dashboard, change the status from Draft to Active (or click the Rocket icon).
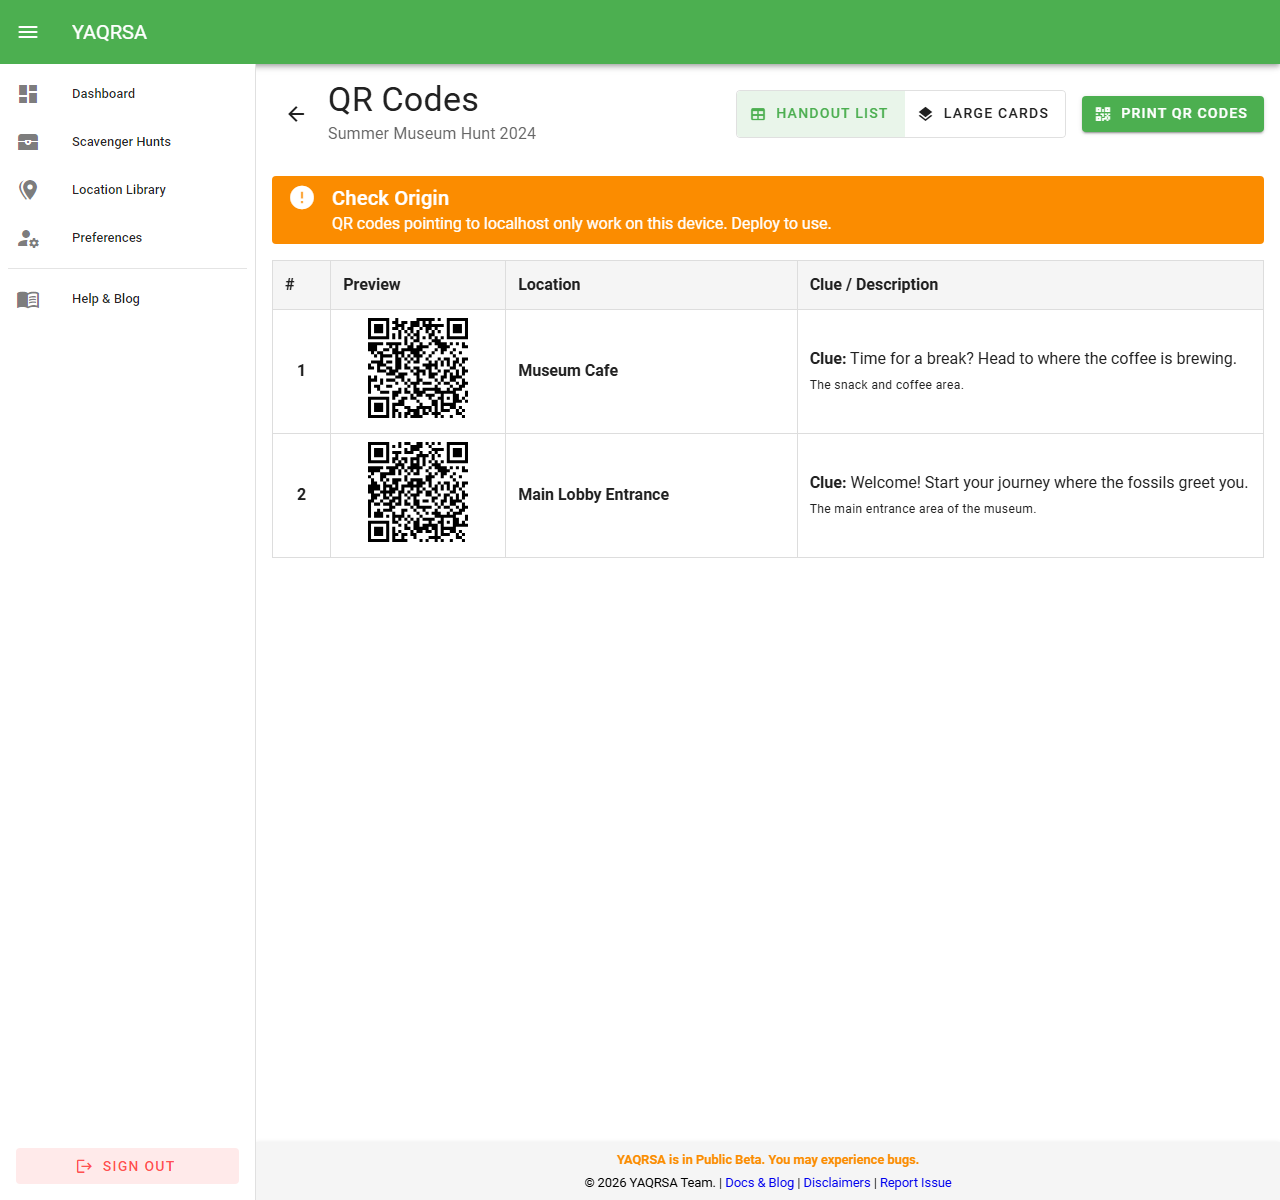
- Print your codes:
- Click the QR Codes button.
- Choose your layout (List or Cards) and click Print.
- Stick them physically at the Front Desk, Coffee Machine, and Meeting Room.
- You're done! Players can now scan any code to start playing.
Step 7: Monitor Progress
As people play, you can watch the action unfold:
- Go back to your Home Dashboard.
- Look at the Recent Activity feed to see real-time "Joins" and "Scans".
- For more details, go to My Hunts and click the Report icon on your hunt to see charts and stats.
Troubleshooting
- "Hunt is not active": Make sure you flipped the switch to Active in Step 6.
- "Location not found": Ensure you didn't delete the location from the Library after adding it to the hunt.