Creating Scavenger Hunts
This guide walks you through creating your first scavenger hunt in YAQRSA.
Prerequisites
Before creating a hunt, ensure you have populated your Location Library.
- Navigate to Location Library.
- Add the physical spots you plan to use (e.g., "Main Statue", "Red Door").
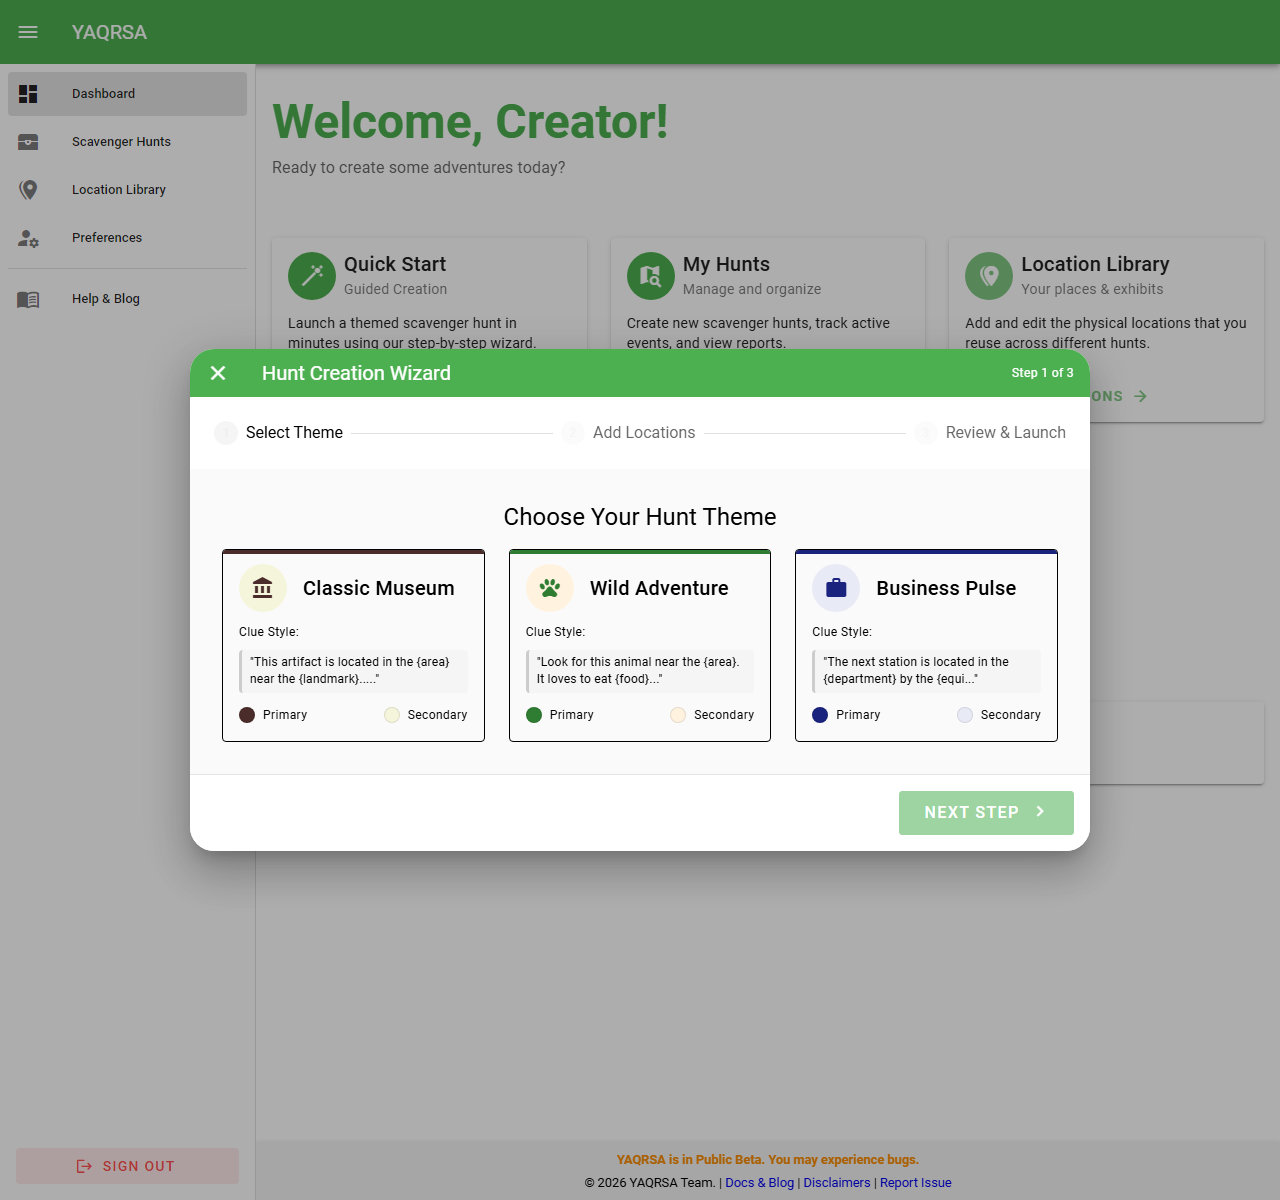
Step 1: Create a New Hunt
- Navigate to the My Hunts dashboard.
- Click the + New Hunt button.
- Name: Give your hunt a catchy title (e.g., "Visitor Center Discovery").
- Description: (Optional) Add internal notes about this event.
Step 1.5: Choose QR Mode
You must decide how your QR codes will behave. This can be changed in Settings.
Standard Mode (Default):
- QR codes are unique to this specific hunt.
- Best for one-off events or when you want fresh codes for every new group.
- Players scanning these codes are immediately linked to this hunt.
Location Mode:
- Uses the permanent QR codes assigned to your Locations in the Library.
- Best for venues (museums, parks) where you printed permanent signs.
- How it works: When a player scans a permanent location code, the system checks if you have an Active Hunt that uses this location. If yes, they collect it for that hunt.
- Constraint: You can only have ONE active Location Mode hunt running at a time (to avoid ambiguity).
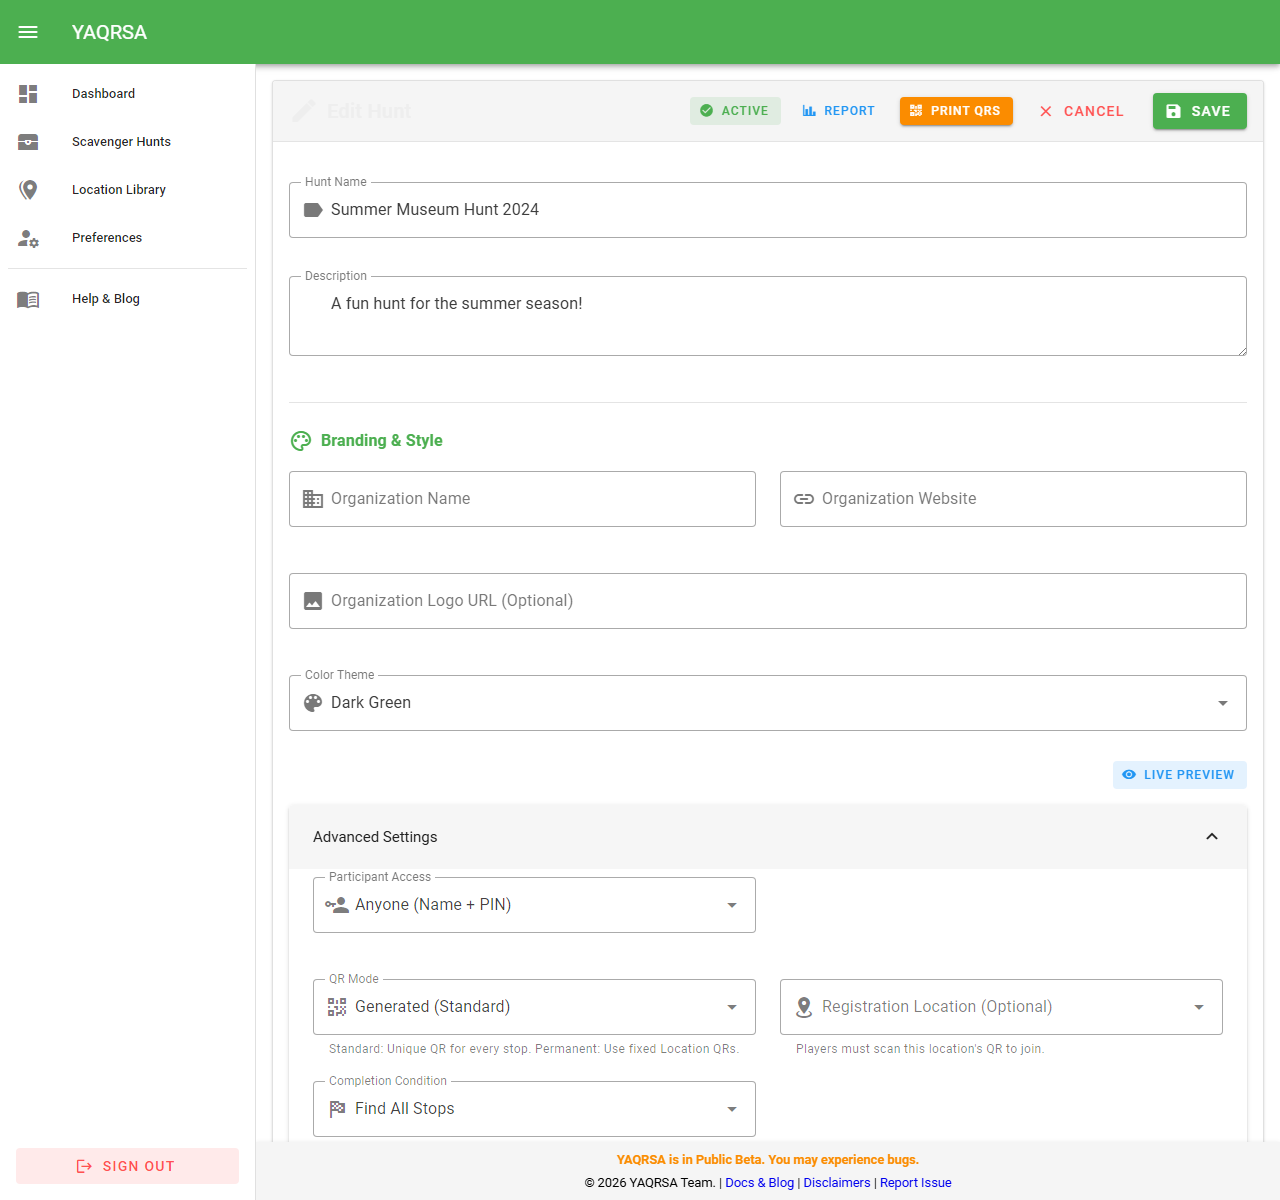
Step 2: Configure Settings
Completion Conditions
You can decide how players "win" the hunt:
- Find All Stops: The player must scan every single QR code in the hunt.
- Find Specific Count: The player must find a set number of stops (e.g., "Find any 5 of the 10 hidden spots").
- Accumulate Points: The player must achieve a specific target score by finding stops that award points.
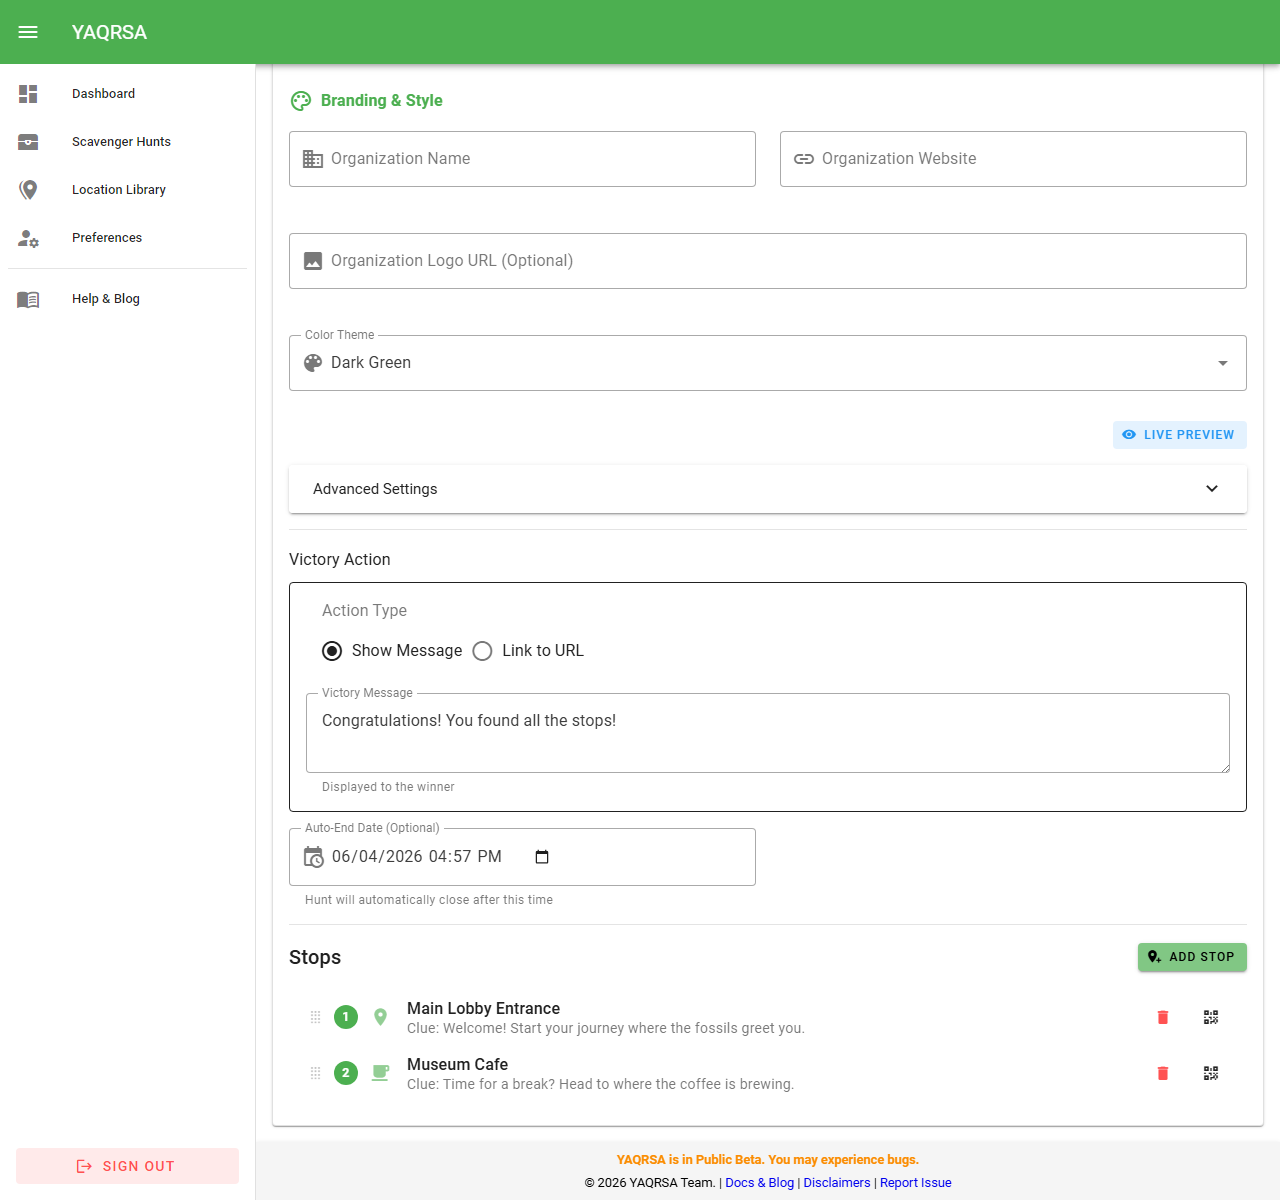
Victory Action
What happens when a player wins?
- Show Message: Display a congratulatory text (e.g., "You did it! Head to the desk for a sticker.").
- Link to URL: Redirect the user or show a button to a specific URL (e.g., a digital coupon, a certificate download, or a feedback form). You can customize the button text (e.g., "Claim Prize").

Player Experience
You can toggle how players experience your hunt:
- Reveal Unfound Stops: When enabled, players can see the names and hints of locations they haven't found yet on their dashboard. This turns a "blind search" into a guided tour! If disabled, players only see their total progress count and mystery slots.
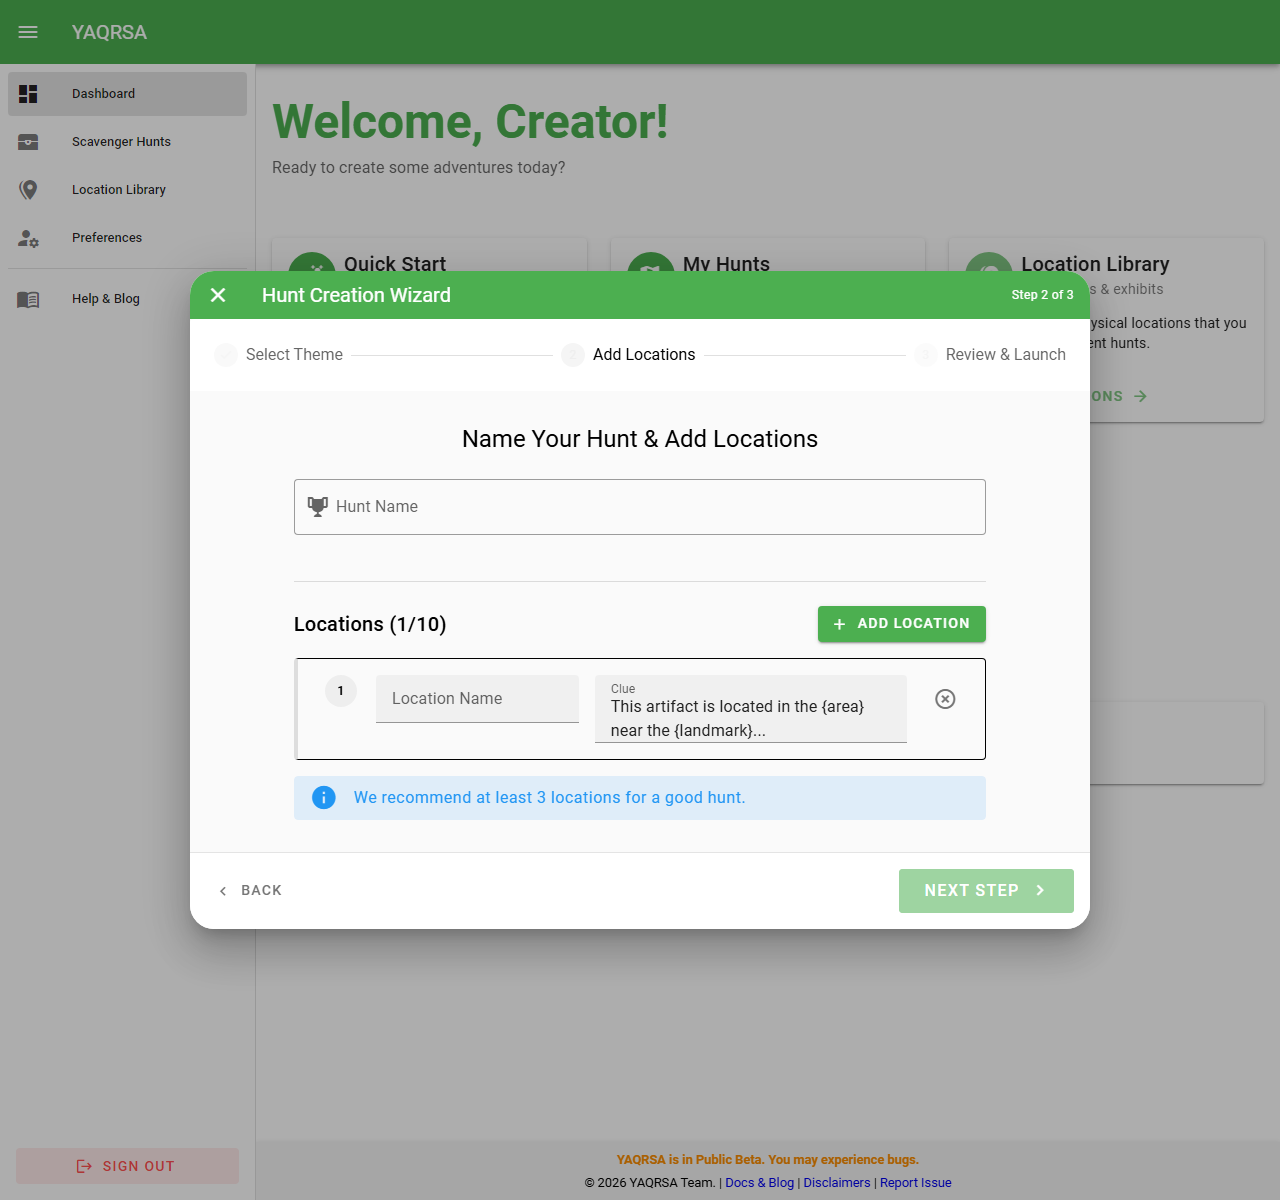
Step 3: Add Stops
- In the "Stops" section, click Add Stop.
- Select Location: Choose a spot from your library.
- Clue: (Optional) Write a clue specific to this hunt. If left blank, the location's default clue is used.
- Inspiration: Look for helpful placeholders in the text field (e.g., "Look behind the reception desk!") if you need ideas for your first hunt!
- Tip: You can reuse the "Fountain" location for an "Easy Hunt" (Clue: "Find the water") and a "Hard Hunt" (Clue: "H2O projectile") simultaneously!
- Points: Assign a point value to this stop.
- Secret Stop: (Optional, Standard QR Mode only) Check this box to hide the stop from the player's total progress count until they discover it. This acts as a fun "bonus" location.
- Reorder Stops: You can easily change the order of the stops by dragging and dropping them using the handle icon on the left side of each stop.
Step 4: Go Live
- Save your hunt. It will be in Draft status.
- In the list view, click the Rocket Icon (Make Live) to activate it.
- Once active, players can scan the QR codes generated for this hunt.
- Scan a QR code to test.

Step 5: Printing QR Codes
YAQRSA generates unique QR codes for each stop in your hunt.
- Open your hunt in Edit mode (click the pencil icon).
- Click the prominent Print QRs button at the top header of the Hunt page.
- Select View:
- Handout List: A compact table with QR codes, names, and clues. Ideal for reference sheets or giving to team captains.
- Large Cards: One QR code per page (or large card). Ideal for printing and taping to walls/posts.
- Click Print.
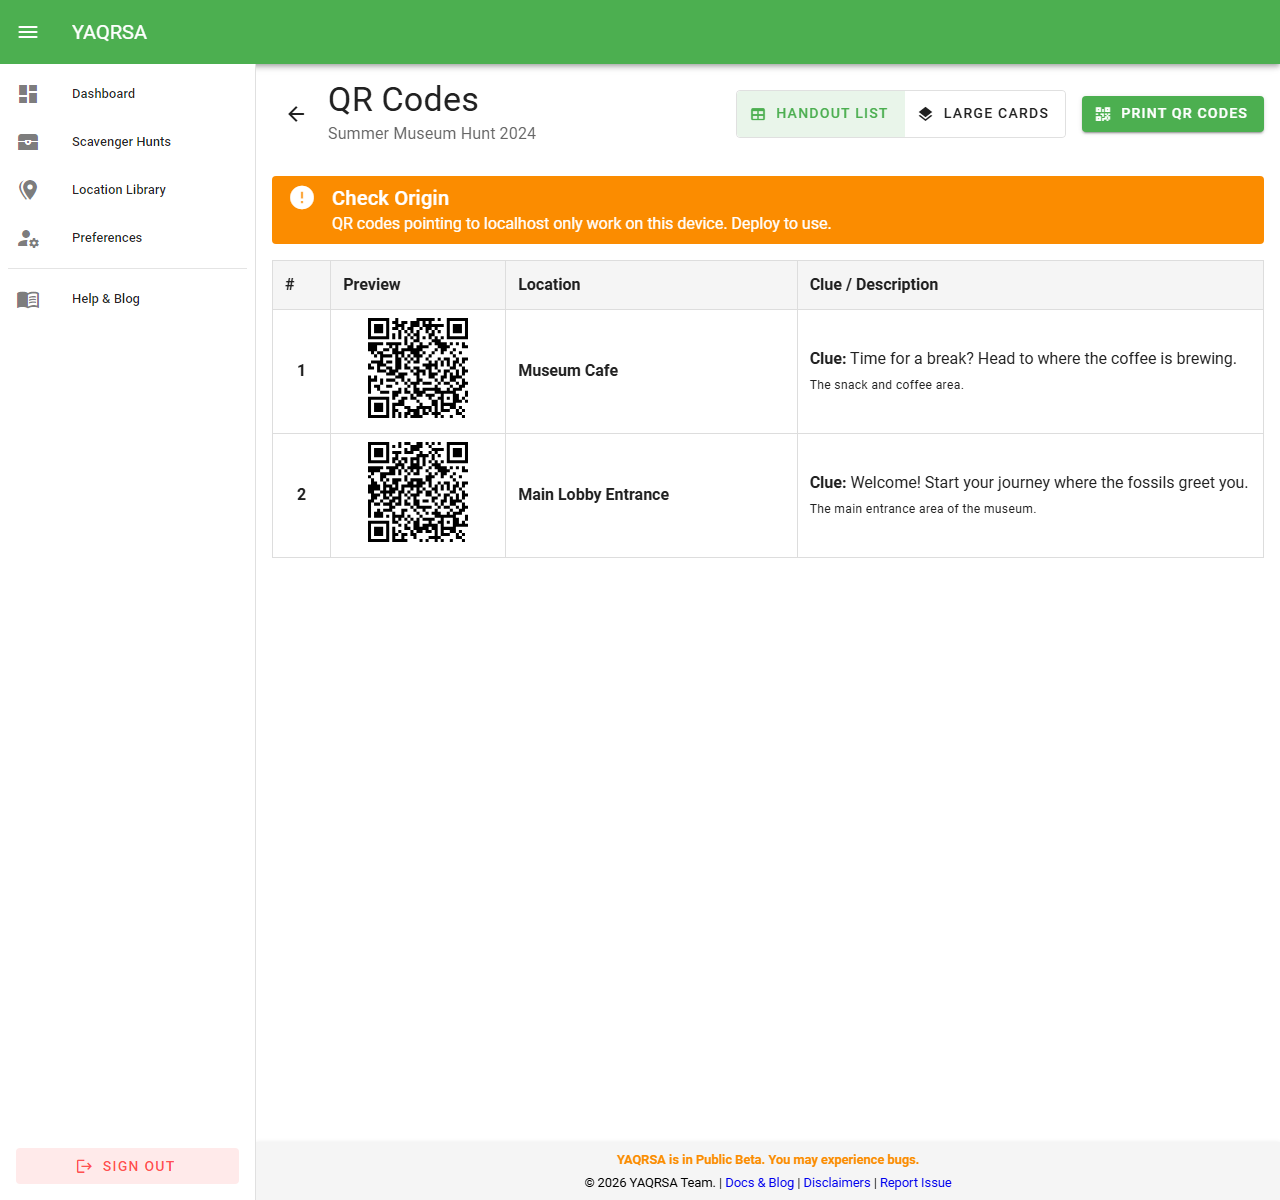
TIP
QR Codes generated in this view are specific to this hunt. Scanning them will count towards the player's progress in this specific game.
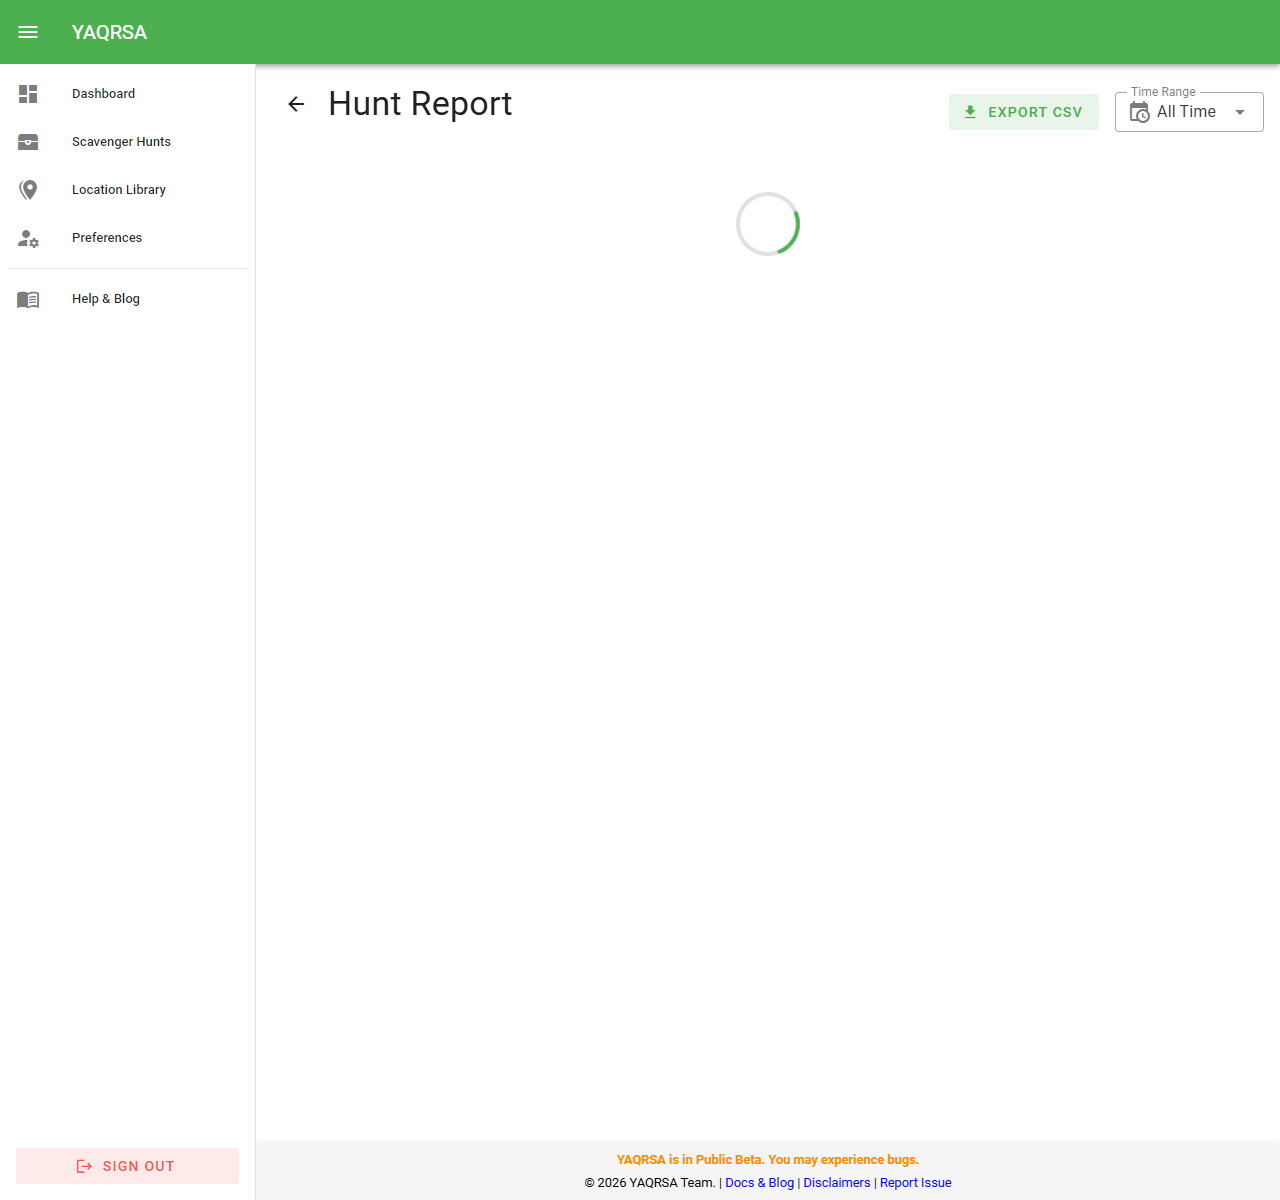
Step 6: Analyzing Results
You can track your hunt's performance in real-time.
- Go to the My Hunts list.
- Click the Chart Icon (View Report) on any hunt row. OR, inside the "Edit Hunt" screen, click the Report button.
Report Dashboard
- Time Range: Use the dropdown (top right) to filter data by Today, Yesterday, Last 7 Days, etc.
- Key Metrics:
- Total Scans: All-time scans vs scans in the selected period.
- Participants: Total unique players vs players who joined in the selected period.
- Completion Rate: Percentage of players who successfully completed the hunt.
- Busiest Stops Chart: A visual bar chart showing which locations are being found the most.
- Scans by Stop: A detailed table of scans per stop.
Exporting Data
You can download a summary log for offline tracking and reporting (e.g., Excel/Sheets):
- On the Report page, click Export CSV.
- This will download a file containing daily aggregate metrics, including the date, total scans, and new participants. To protect player privacy, raw timestamps and player IDs are not included.